Getting Started
Set up Contextflo in minutes with the self-guided onboarding wizard
Last updated: 7/2/2026
When you sign up for Contextflo, a self-guided onboarding wizard walks you through the entire setup. You'll be ready to query your data in minutes.
Prerequisites
- A data source you can connect to (Snowflake, PostgreSQL, MySQL, Amazon Redshift, Google BigQuery, Databricks, or ClickHouse).
- Network access for Contextflo to reach your database (add the app's IPs to your allowlist if needed).
- Credentials with read access to the schemas and tables you plan to query.
Step 1: Connect your data source
After signing in, the wizard starts at Step 1 of 4. Pick the database type that matches your setup.
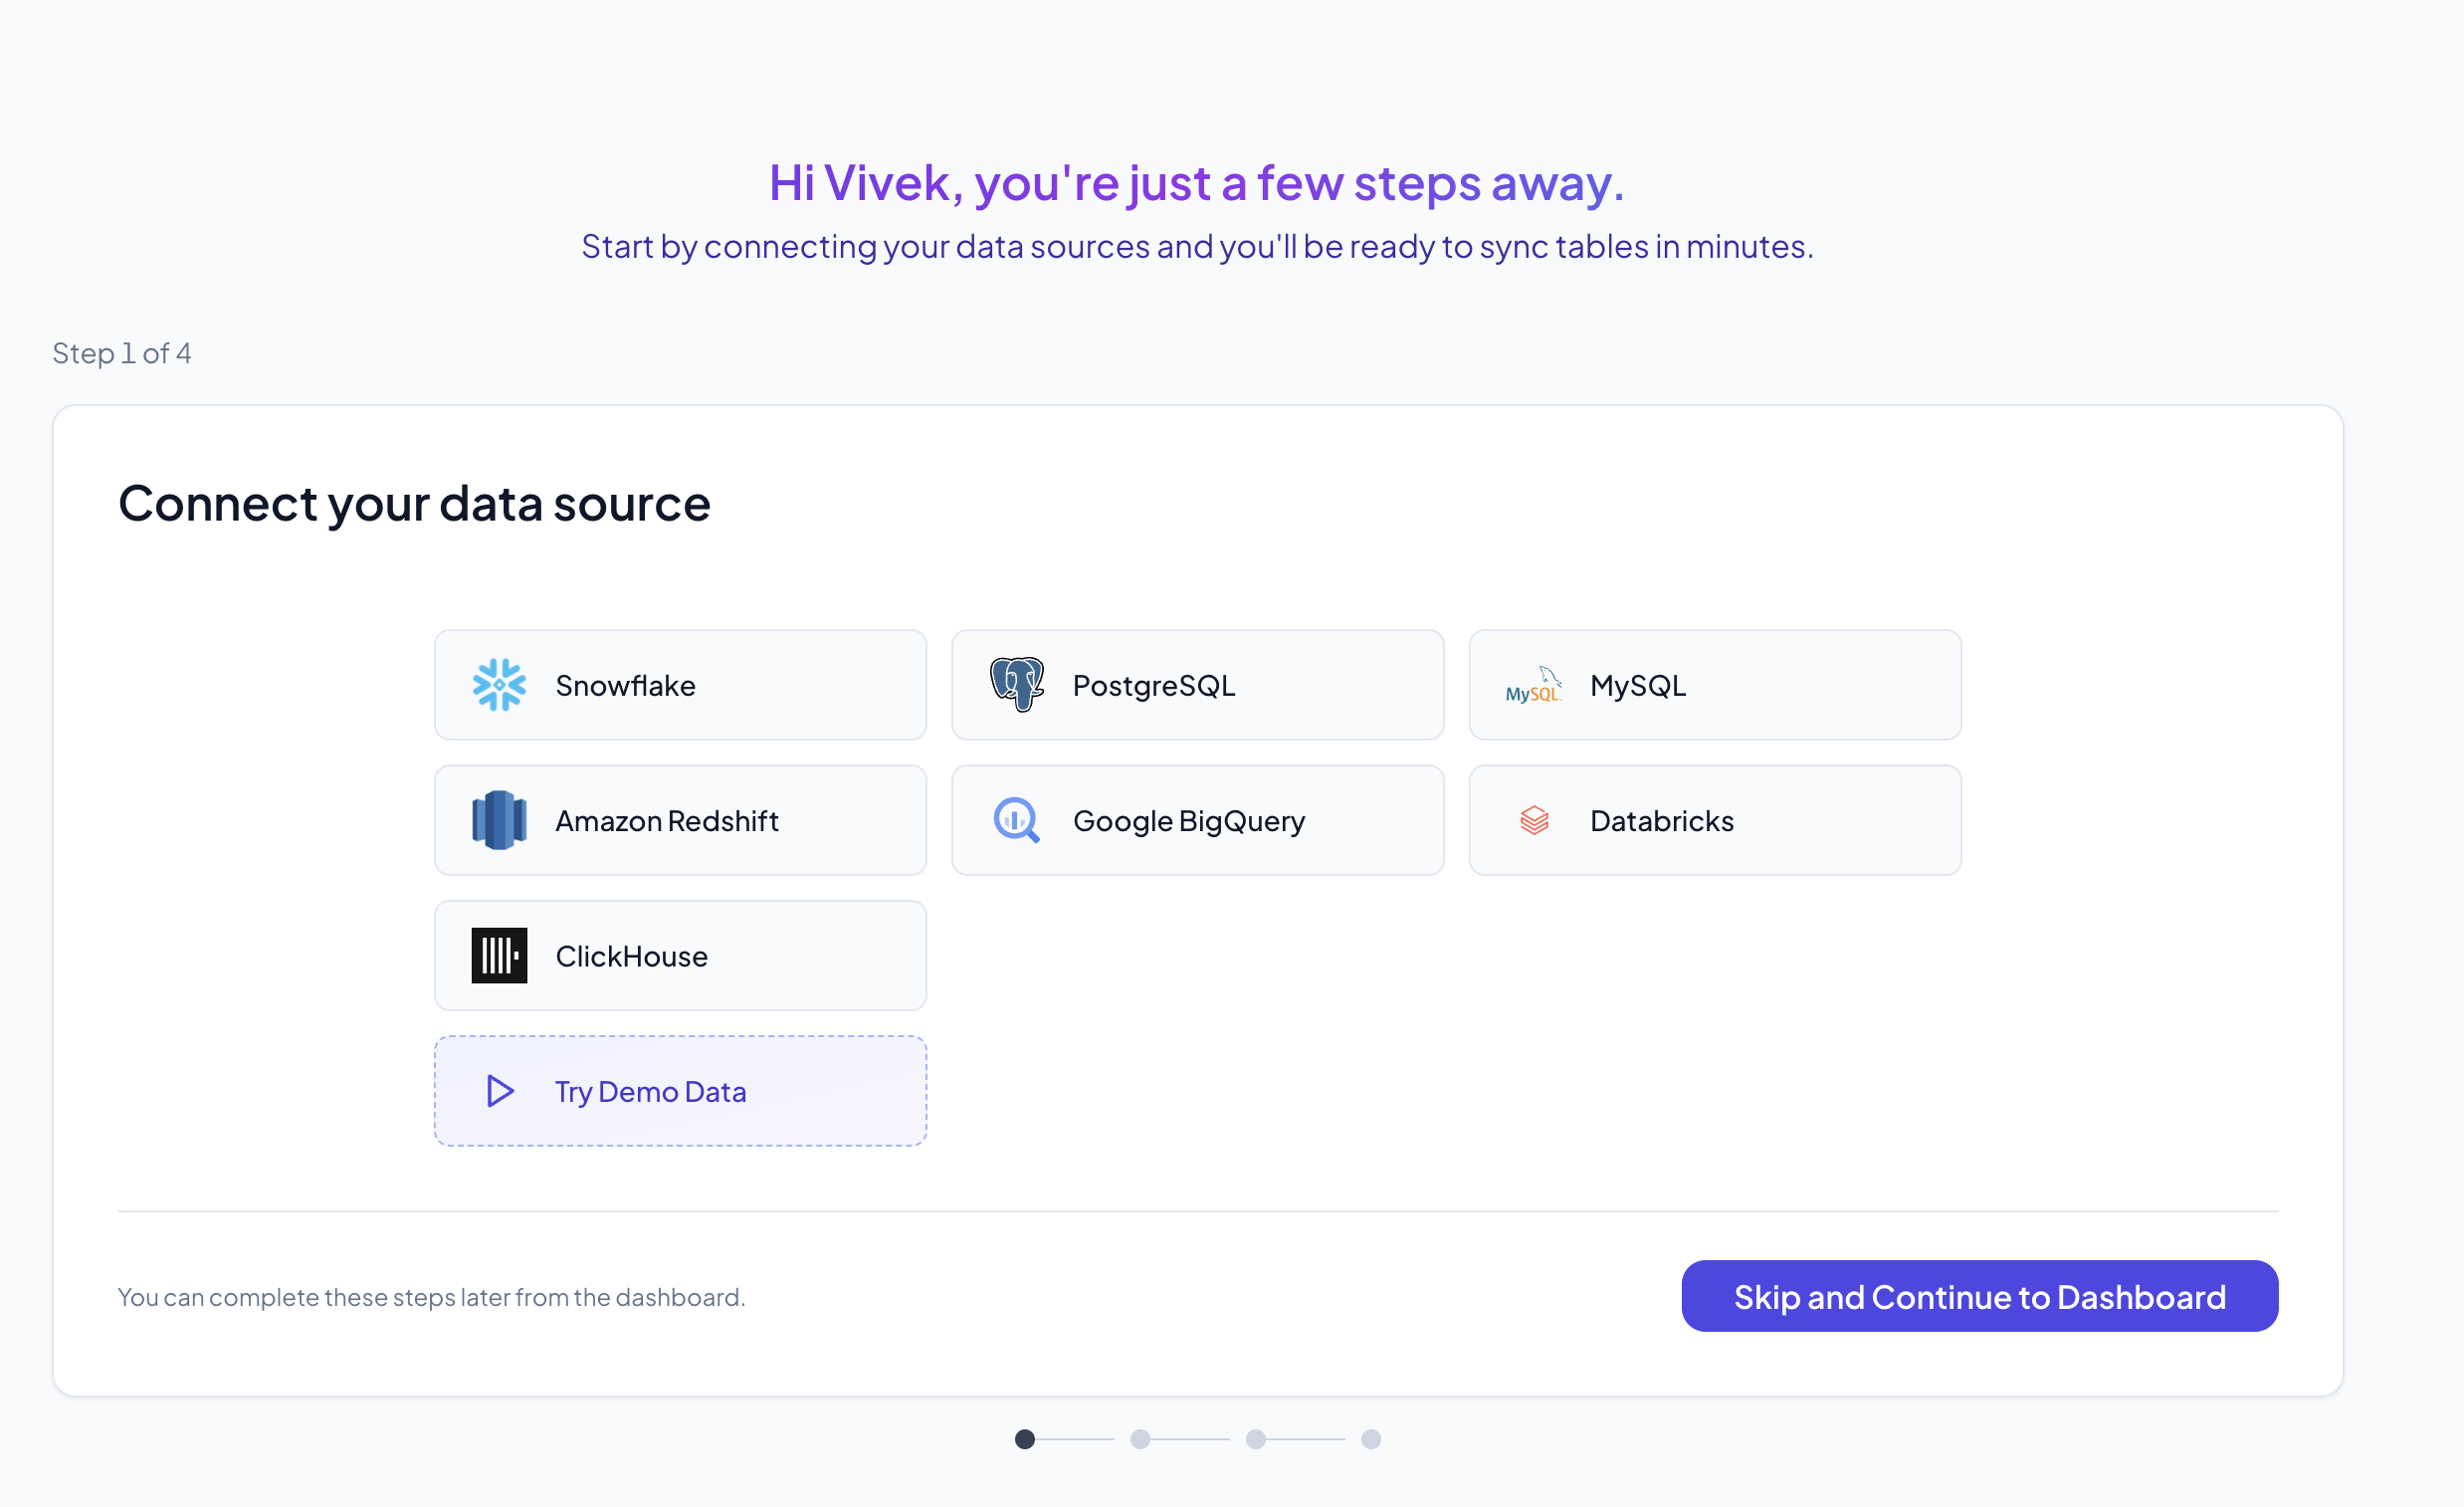
Fill in your connection details and click Test Connection to verify everything works. Once the connection succeeds, save it and the wizard advances automatically.
If you don't have a database ready, click Try Demo Data to explore Contextflo with a sample dataset.
Step 2: Choose tables to sync
The wizard fetches your database's schema and displays a browsable tree of schemas and tables. Select the tables you want Contextflo to ingest and analyze, then click Sync selected tables.
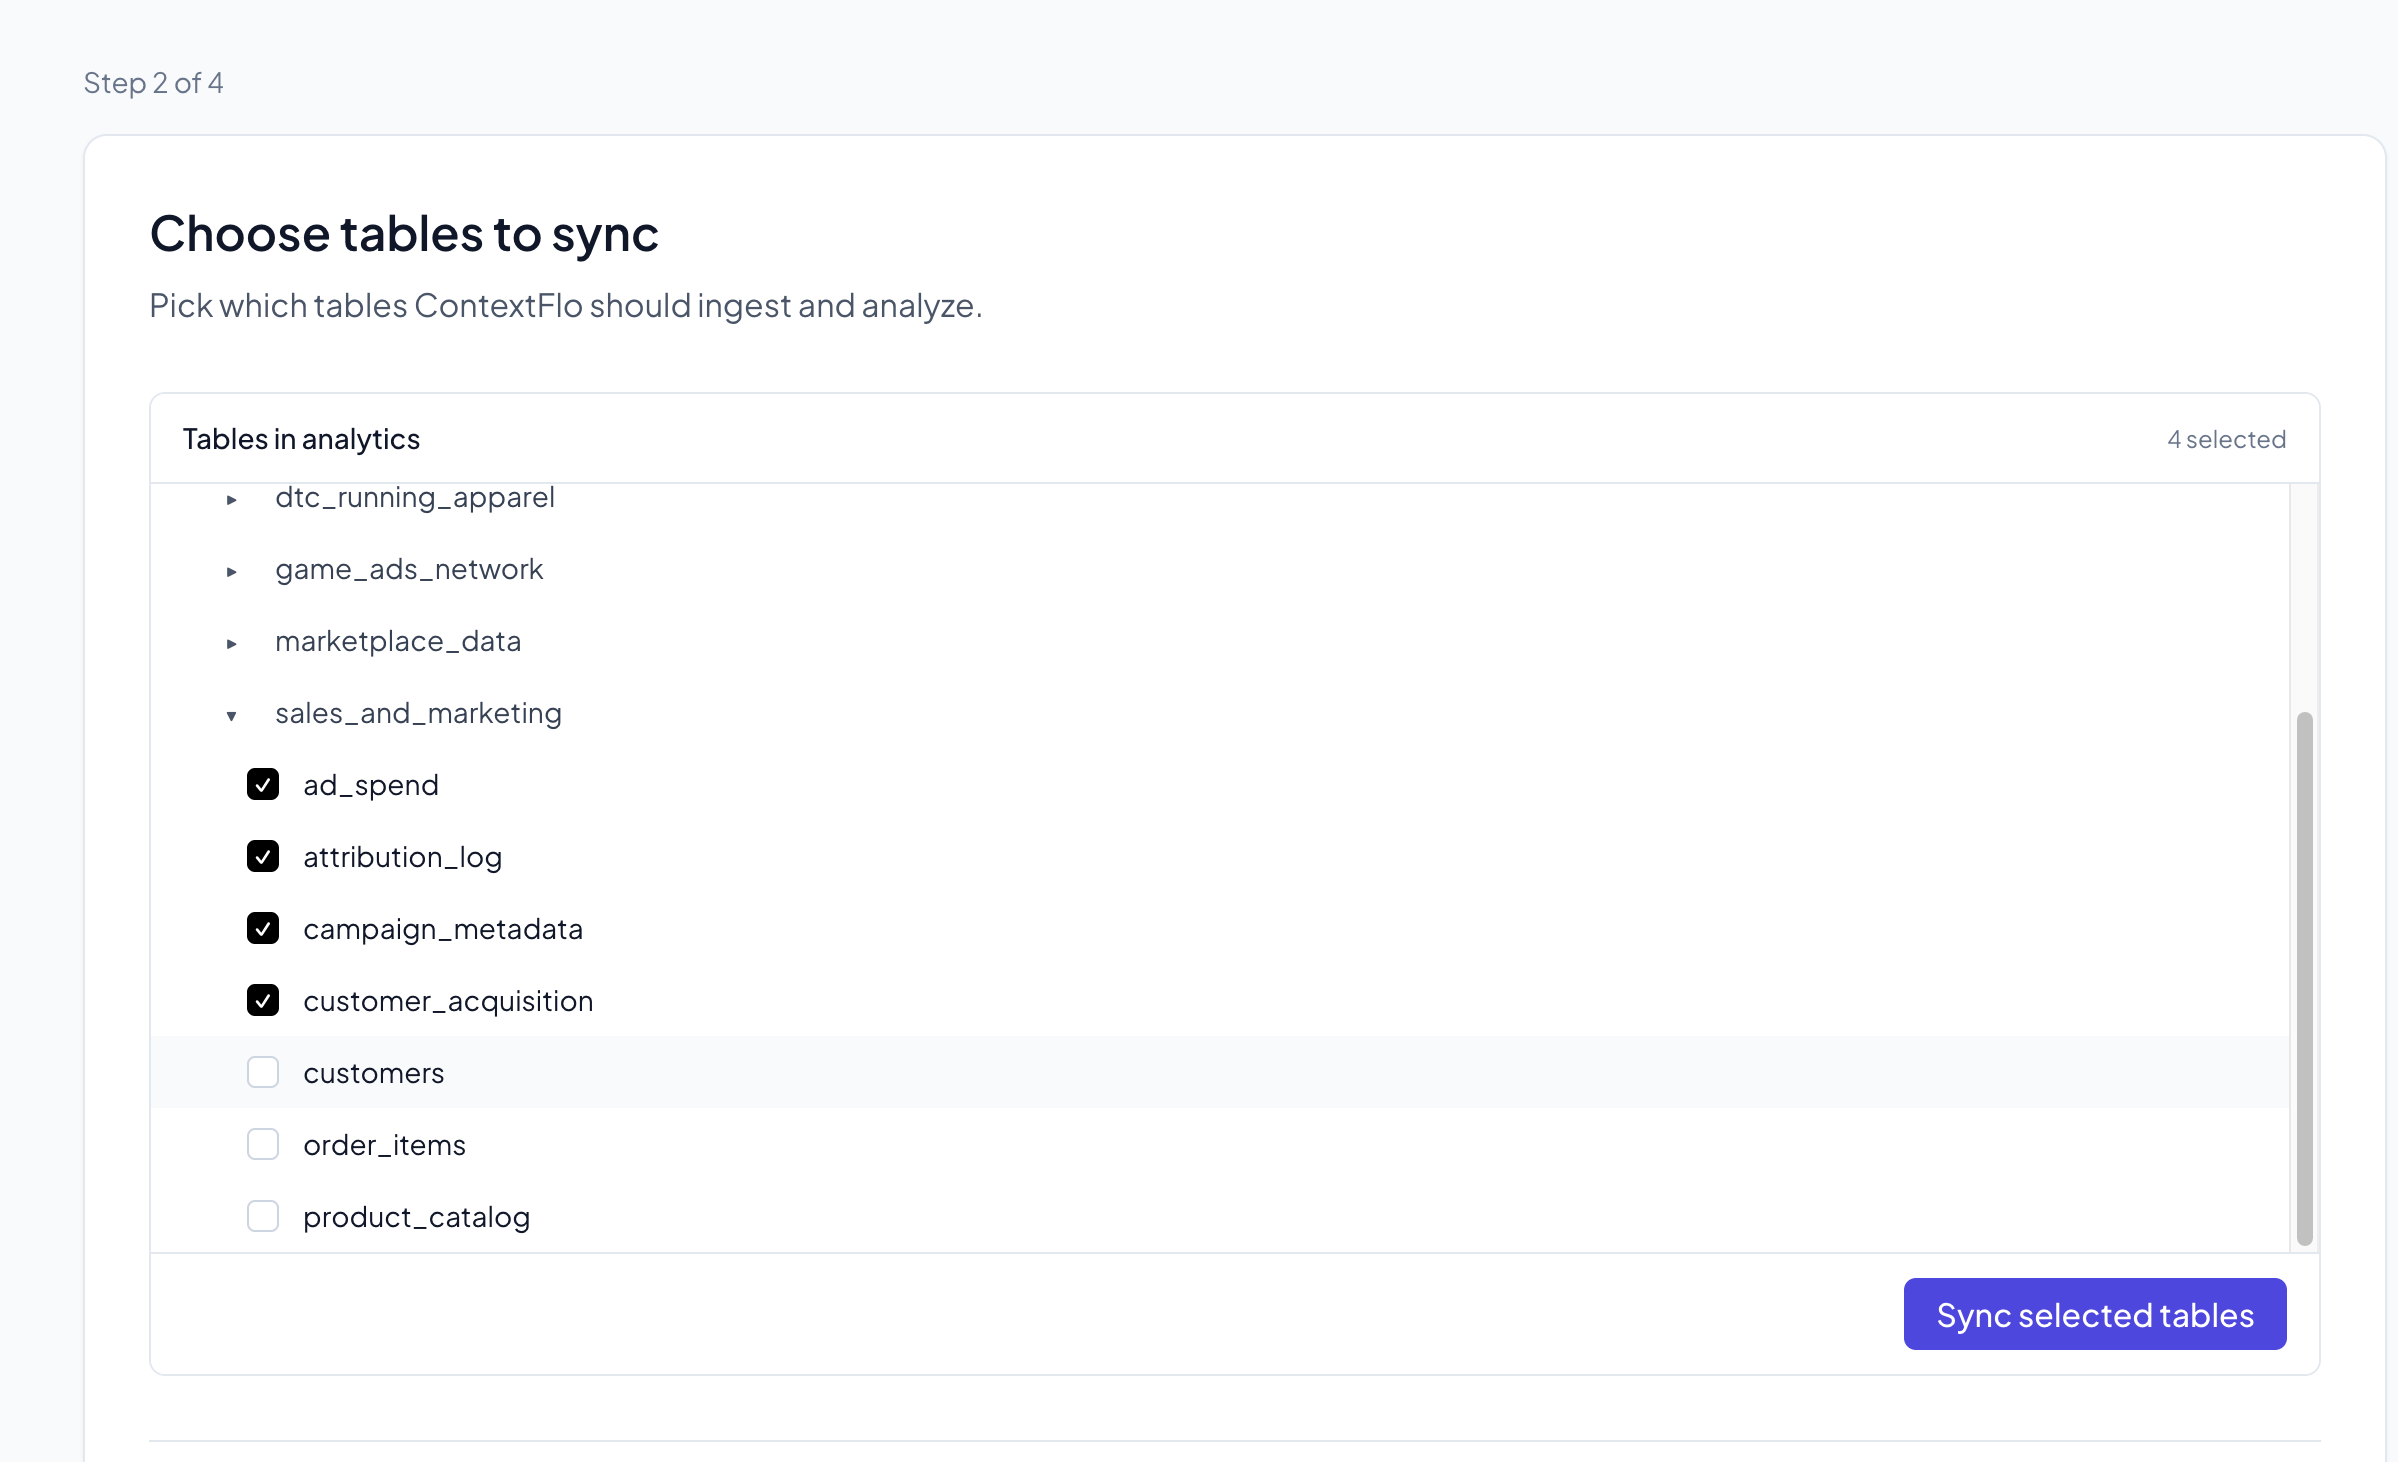
You can always add or remove tables later from the Data Sources page.
Step 3: Connect context sources
Context sources give Contextflo additional knowledge about your data - things like documentation, data dictionaries, or schema comments. Pick from GitHub, GitLab, Stripe Connect, or paste text directly.
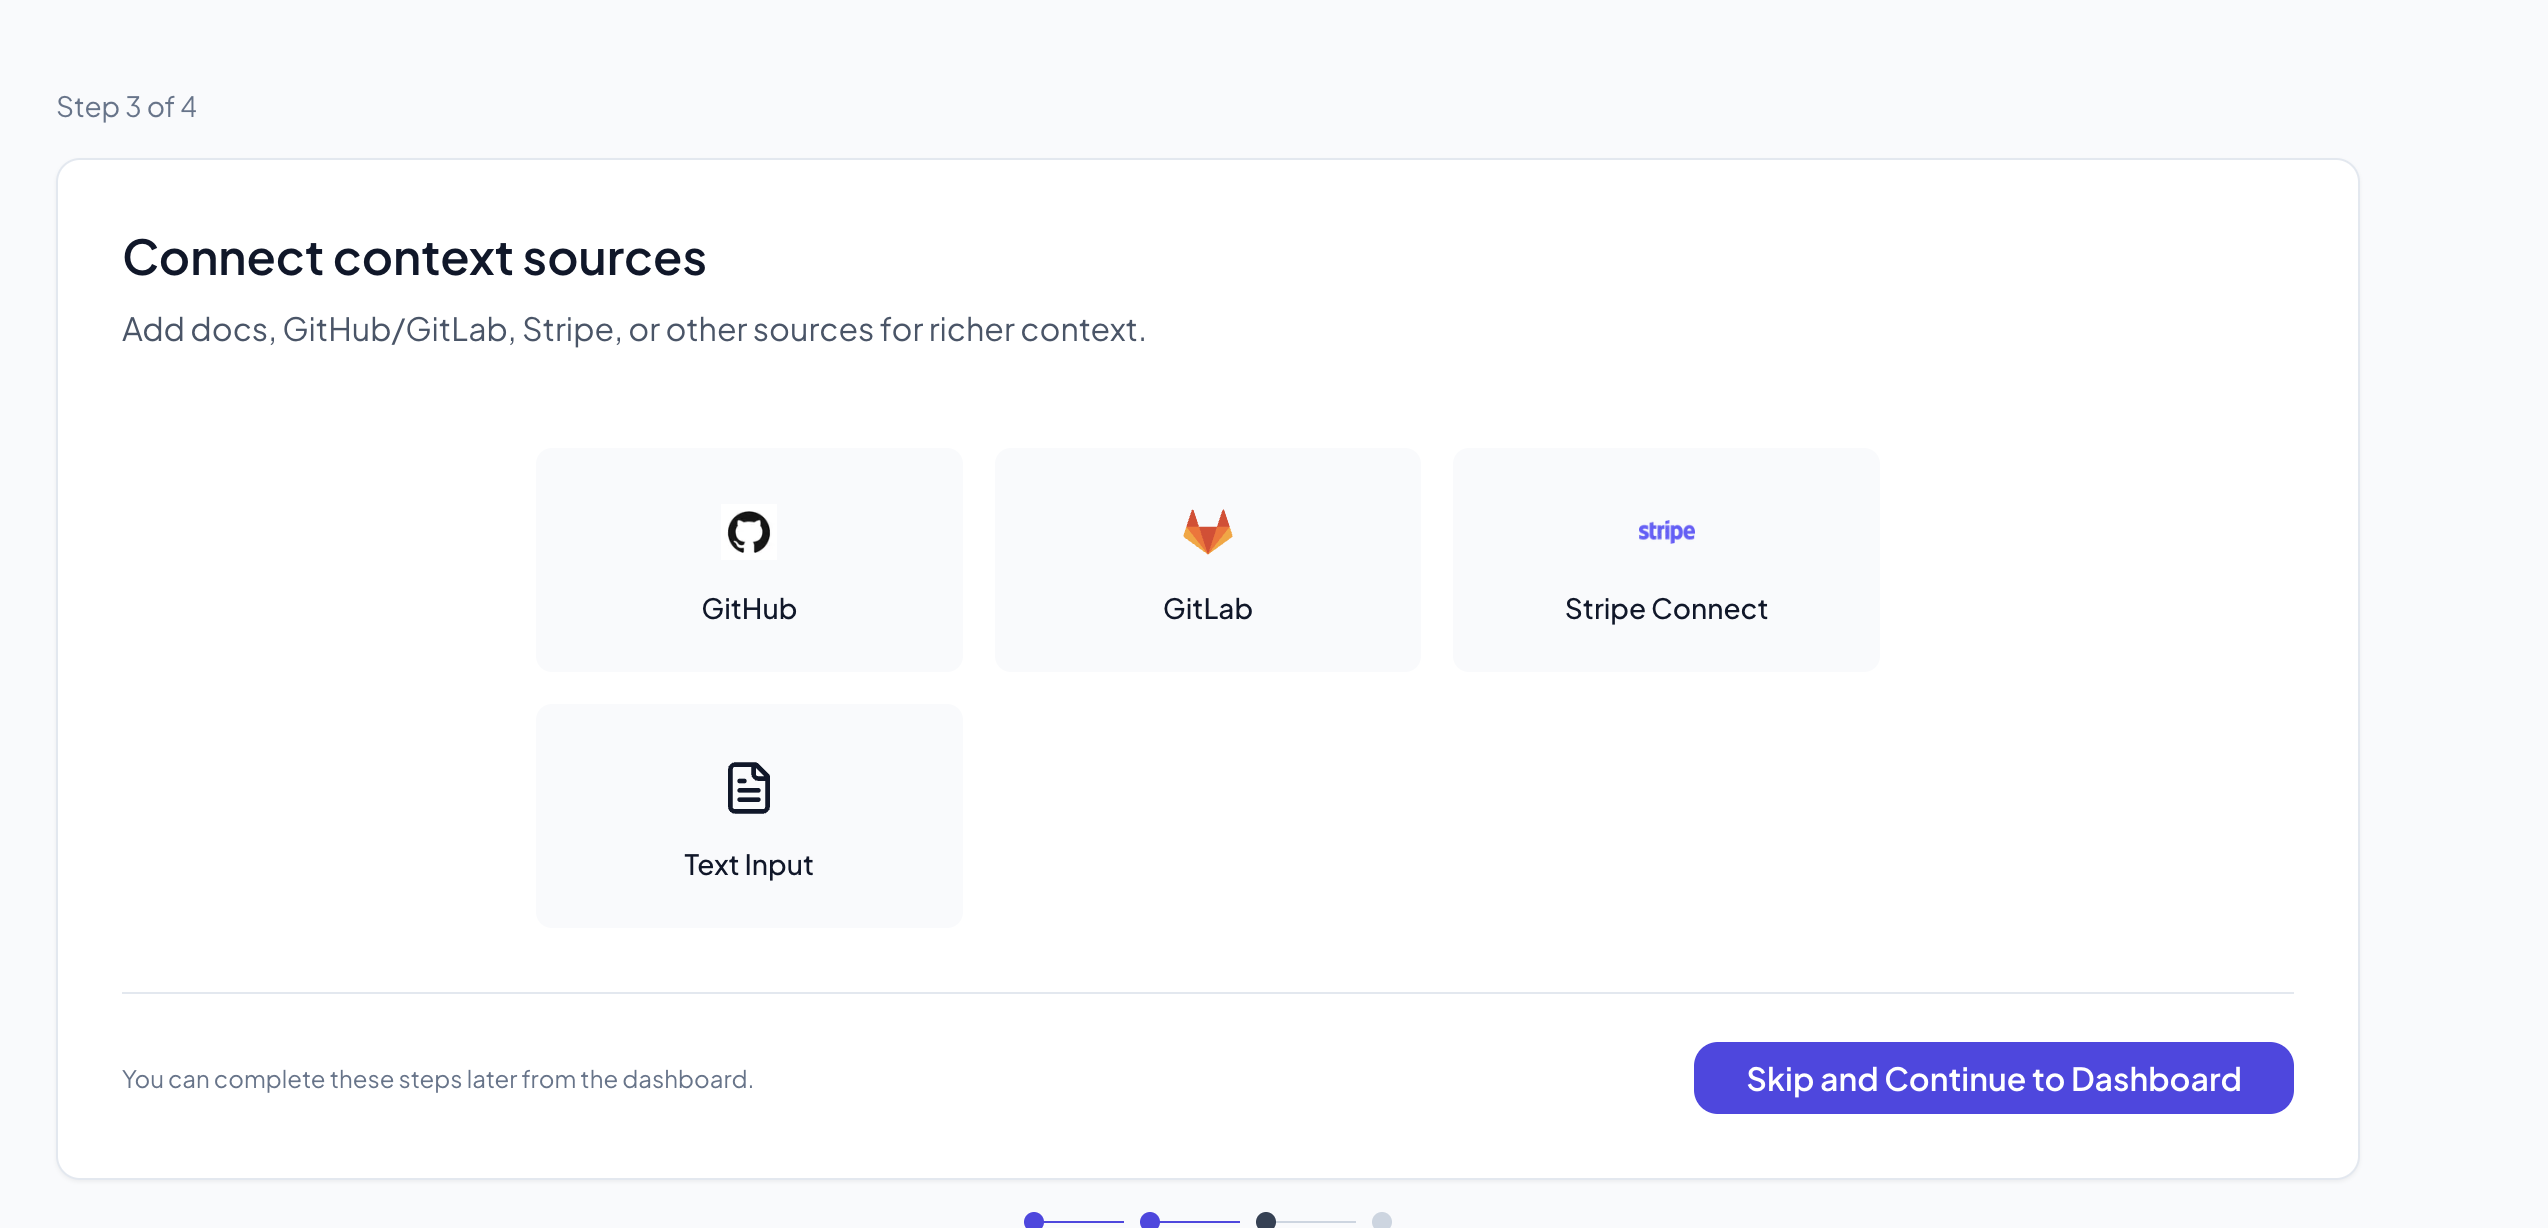
For GitHub or GitLab, the wizard guides you through the app installation flow. For Text Input, paste your documentation and save it instantly. This step is optional - you can skip it and add context sources later.
Step 4: Generate context
The final step queues AI context generation for the tables you synced. Select the tables and a relevant context source, then click Generate Context.
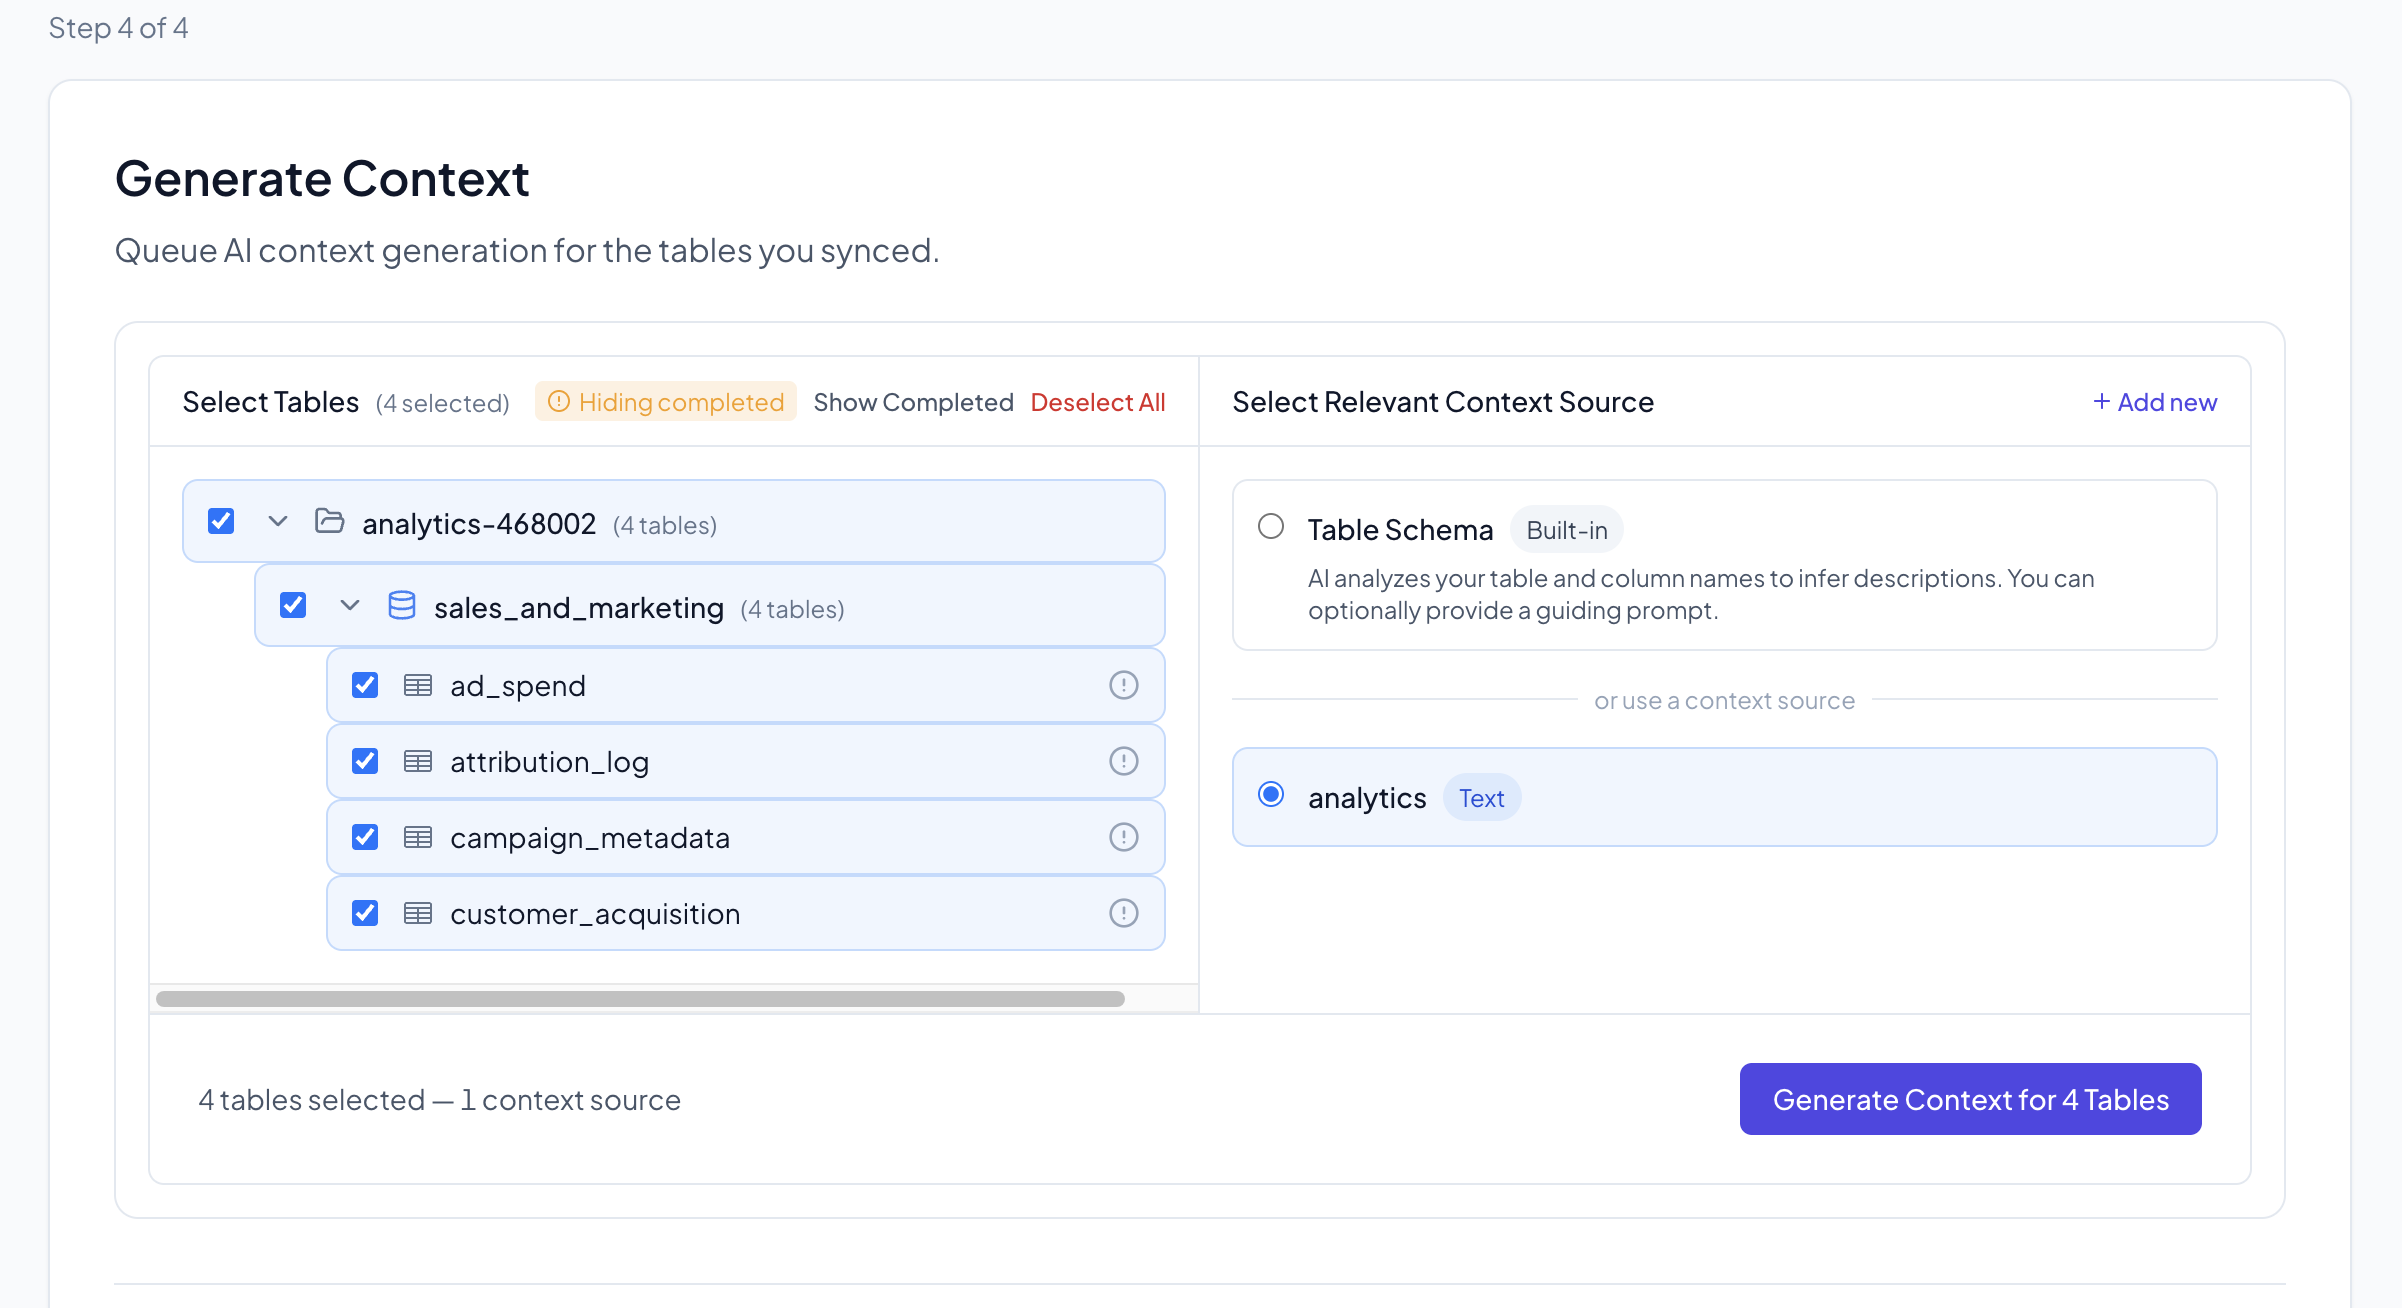
Context generation runs in the background and usually takes a few minutes. Once complete, Contextflo understands what each table and column represents, which dramatically improves query accuracy.
What's next
Once onboarding is complete, connect Contextflo to your LLM client and start querying your data:
You can revisit any of these steps at any time from the dashboard. The wizard also shows a Skip and Continue to Dashboard button on every step if you prefer to complete setup later.